


This tutorial will show you how to create this watery explosion effect. (requires photoshop CS and higher)
1. Start off by creating a new document (500x500).
2. Then create a new layer (layer 1) and fill it with wite.
3. Set color pallete to white and black.
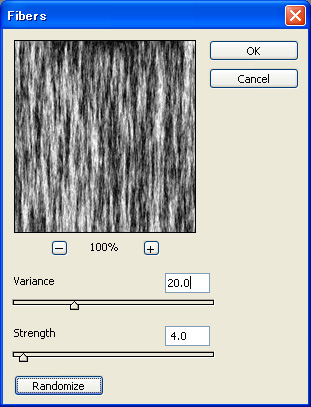
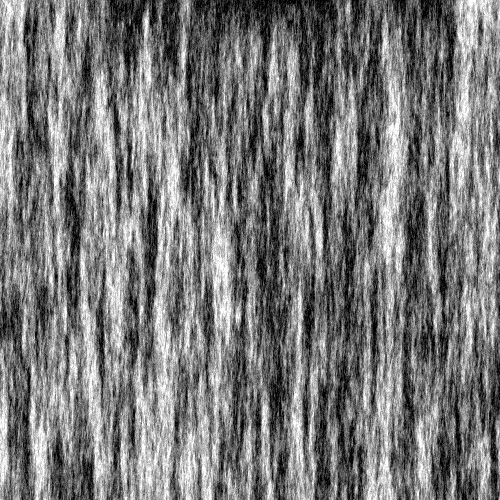
4. Fill layer 1 with the fiber filter by going to Filter>Render>Fibers (use setting: variance 20 and strength 4)).
You should end up with something similar as below.
Note: You can click on some of the images below for a larger version.
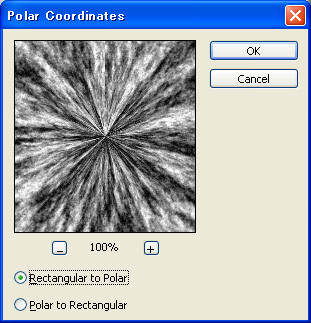
5. Now go to Filter>Distort>Polar Coordinates (select: rectangular to polar).
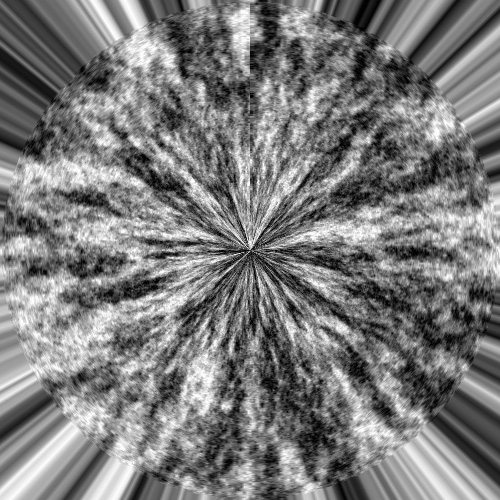
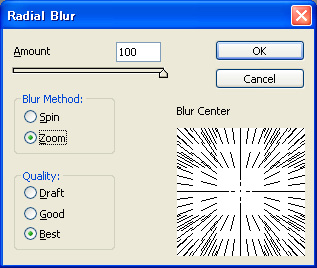
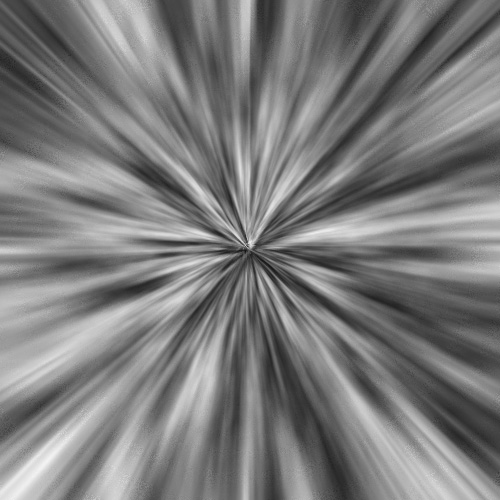
6. Apply blurring by Filter>Blur>Radial Blur (settings: amount: 100% type: zoom quality: best).
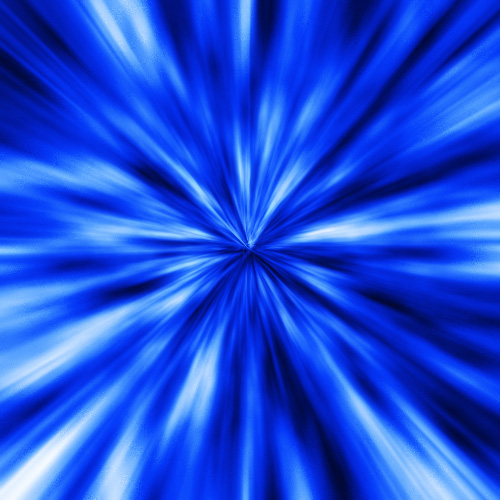
7. Add color by Image>Adjustments>Hue and Saturation (colorize images to preferred color).
In this example, the saturation is set to 80.

8. Duplicate the current layer and rename it to layer 2.
9. Guassian blur layer 2 with 1.0 radius and set the layer blending mode to hard light.
10. Merge all layers and duplicate the resulting layer.
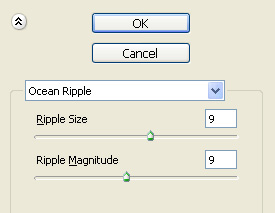
11. Apply ocean ripples to the top layer by Filter>Distort>Ocean Ripples... (setting: ripple size and magnitude both 9)
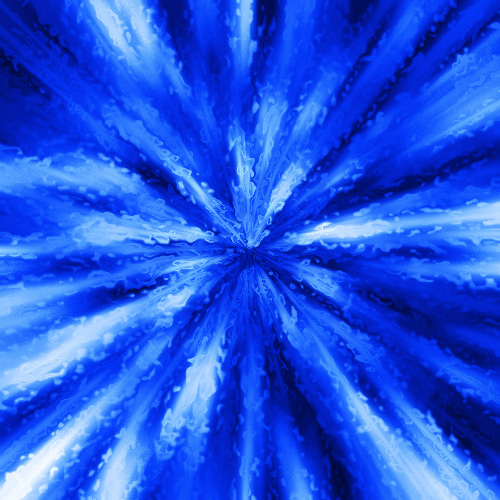
12. Change the blend mode of the top layer to lighten and you're done!
(click on the final image to see the full size)
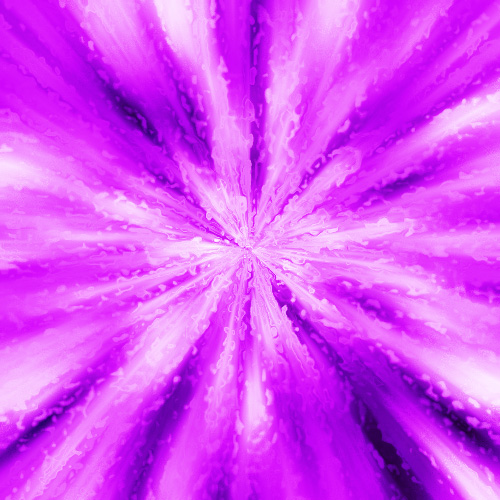
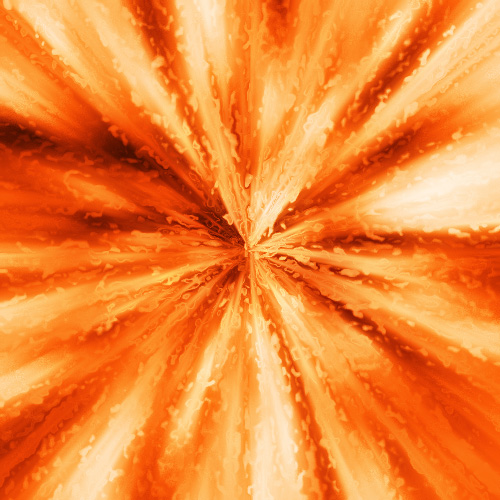
Here some other variations.
Back to Menu


