


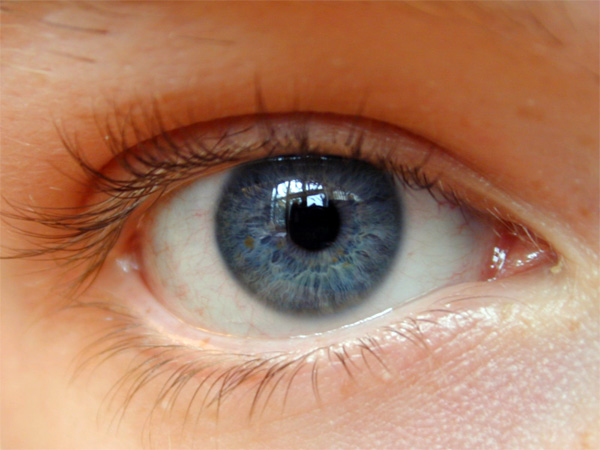
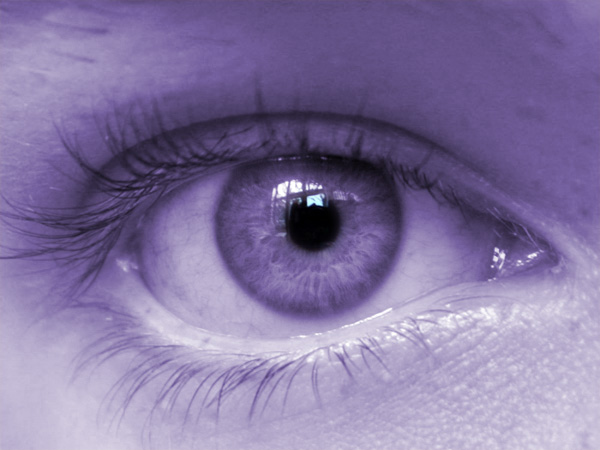
1. Start by opening an existing image.
Note: You can click on some of the images below for a larger version.
2. Duplicate base image to another layer and name it layer 2.
3. Use a white soft round brush with 5% flow to paint around the iris on layer 2.
(Note: Do not over paint as it will reduce the details)
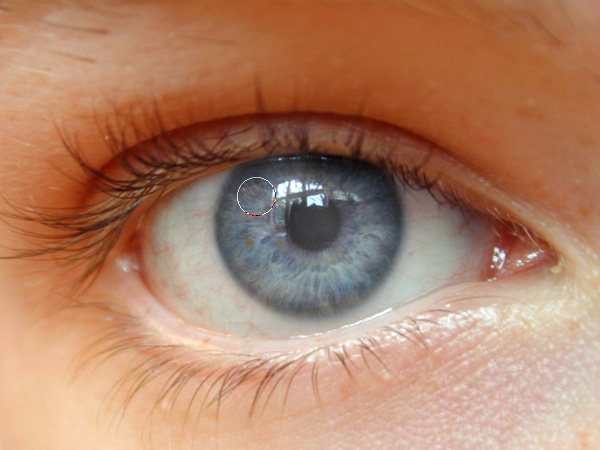
4. Use soft round eraser to erase any white over the pupil.
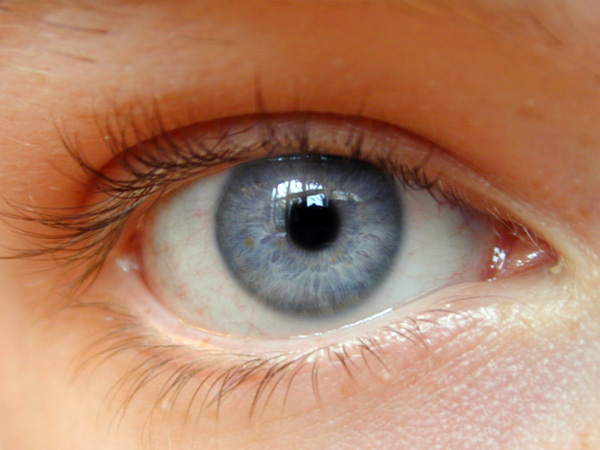
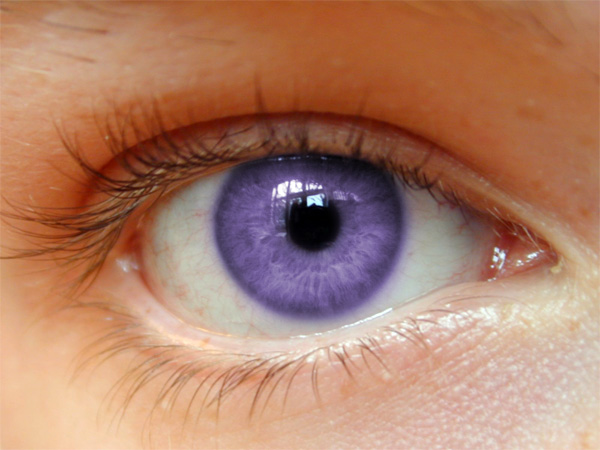
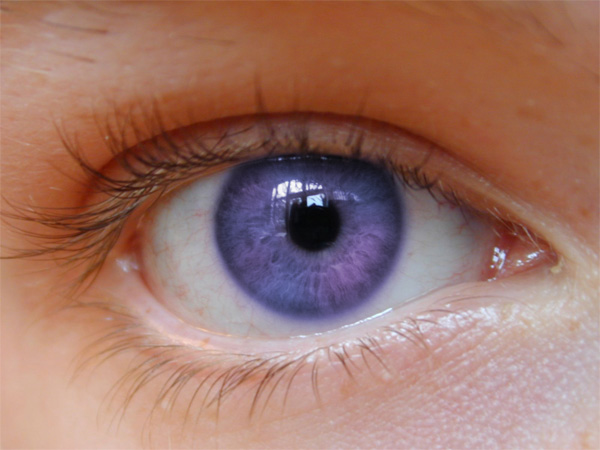
5. Change the coloring by going to Image>Adjustments>Hue and Ssaturation.
(in this example, the settings were: hue: -135 saturation: 25 lightness: 0 with the colorize image checked)
6. Erase around the eyes using a soft round eraser.
(if you only wanted to change the eye's color, then you are done)
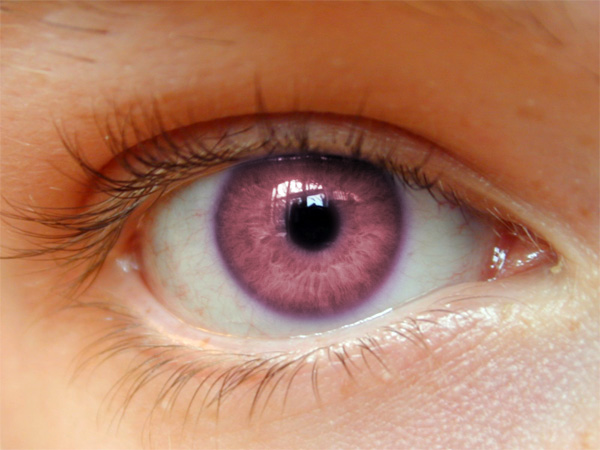
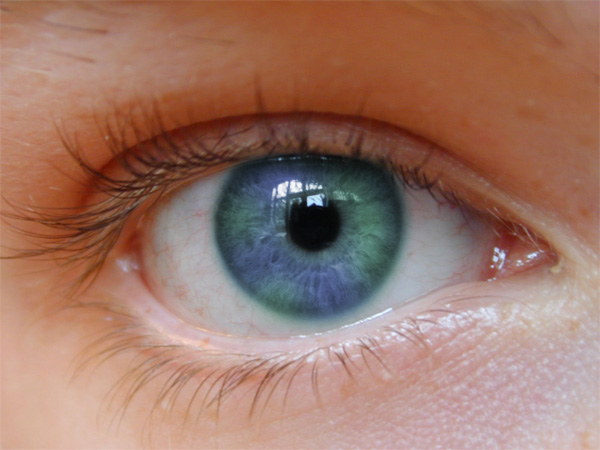
7. Duplicate layer 2 and name it layer 3. 8. Use the Hue and Saturation adjustment again to change the color on layer 3 to your second color.
(settings used here were: hue: 100 saturation: 20 lightness: 0)
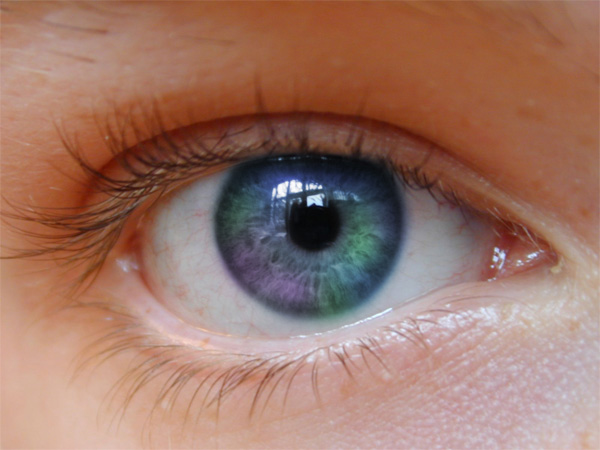
9. Finalize image by using the the eraser (soft round) to erase the top layer to your likings.
(If you would like to add even more colors to the eyes, repeat the process from step 7)
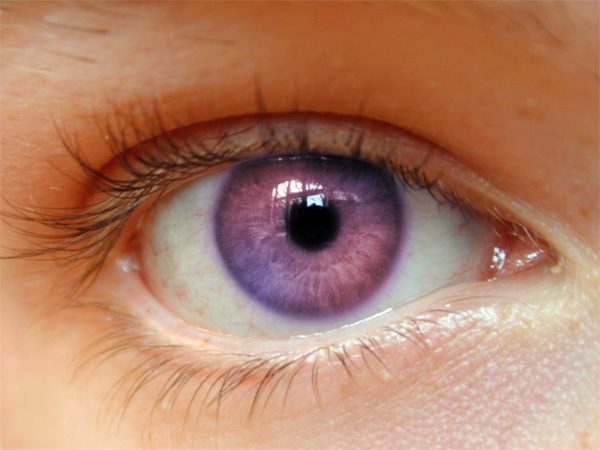
Here are some more examples made using this method.
Back to Menu


